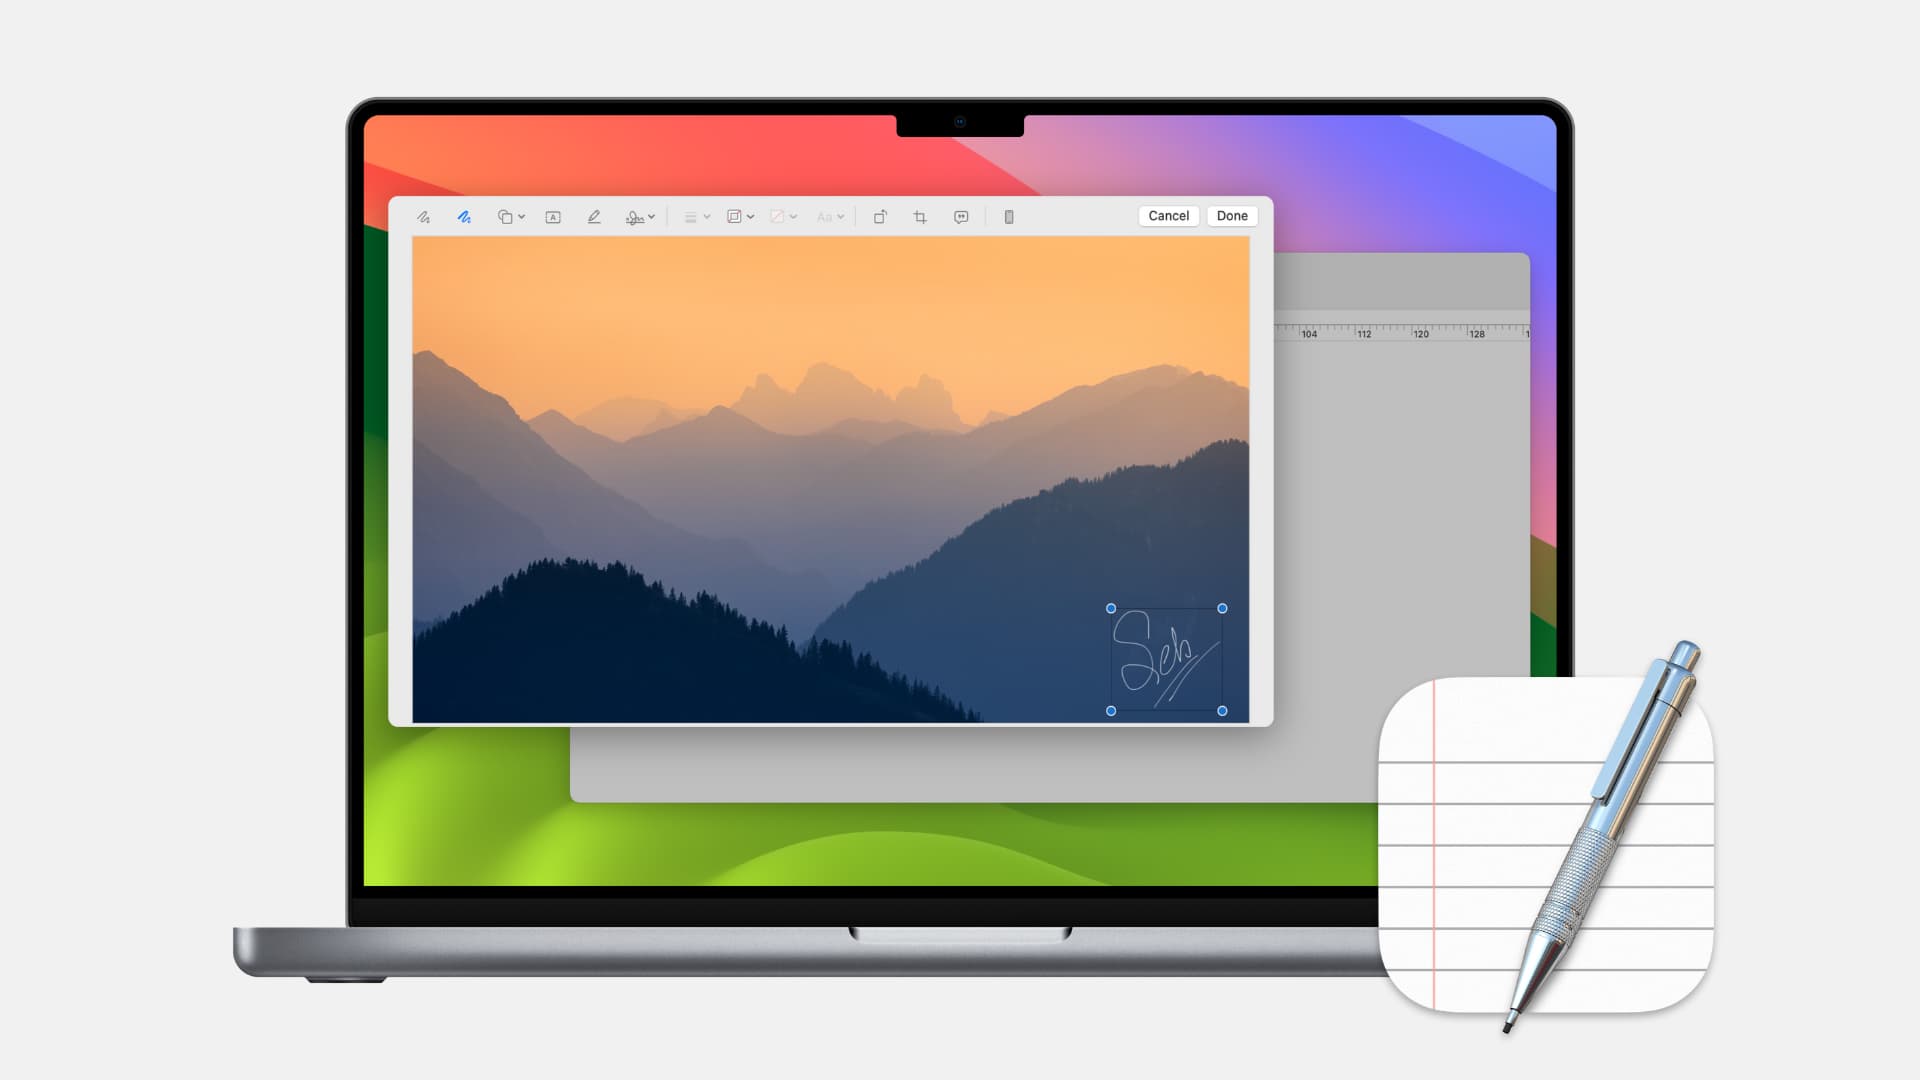
Did you know that TextEdit can even annotate images? If you’re creating or editing a rich text document that needs an image, check out this tutorial for annotating images in the TextEdit app on Mac.

You likely know about the TextEdit app on your Mac. This built-in tool lets you create and edit plain or rich text documents easily. But what you may not know is that you can also annotate images right within it.
This is handy for rich text documents when you don’t want to use a word processing app and just need your document, which includes an image, quickly. And best of all, you’ll use the same Markup tool you’re used to on your Mac.
Here’s how to insert and annotate images in Mac’s TextEdit.
Remember, you have to use a rich text document if you want to insert an image into TextEdit. If you’re using plain text, click Format > Make Rich Text from the top menu bar. If it says “Make Plain Text,” that means your document is already a rich text document, and you can move to the next step.
Then, you can insert an image in a few different ways:
Now that you have your image in your TextEdit document, annotating it is easy.
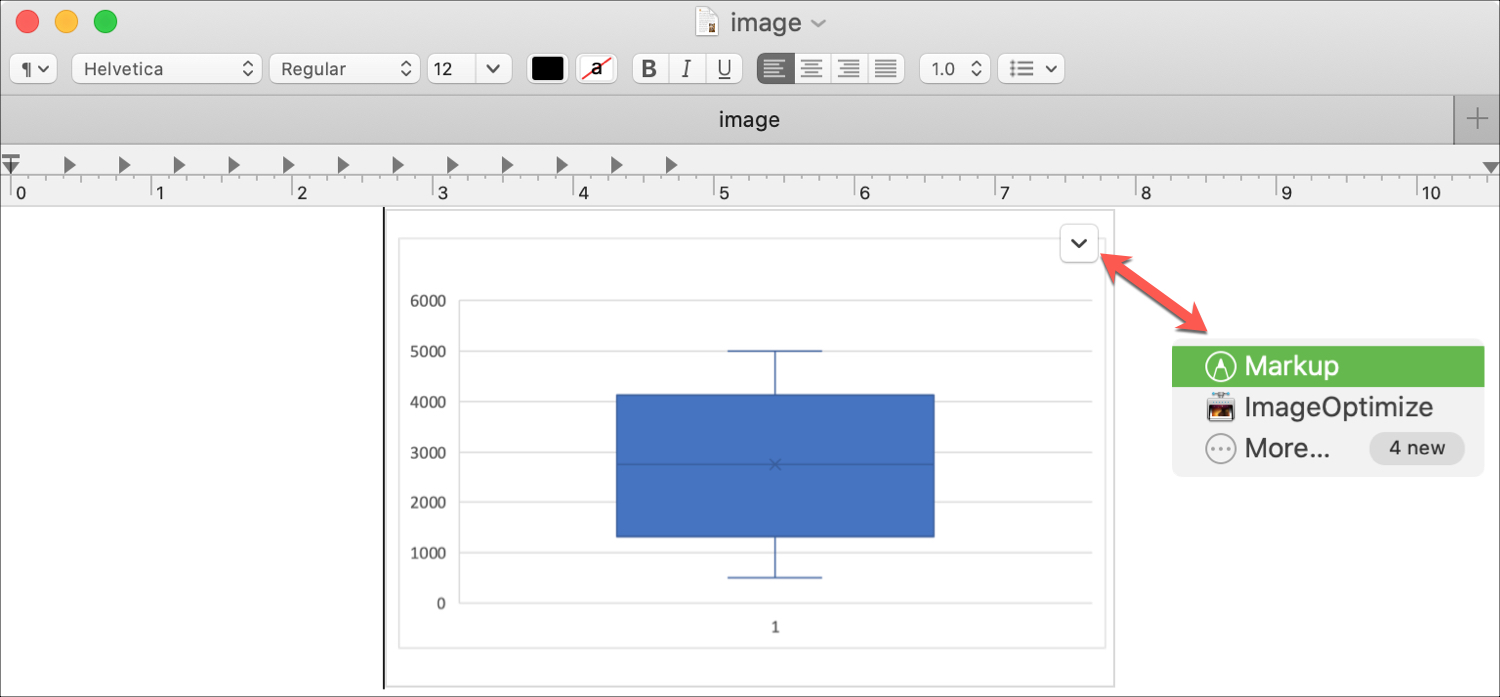
Select the image in your document, and you’ll see an arrow on the top right of it. Choose Markup (or a different image editing tool if you prefer).

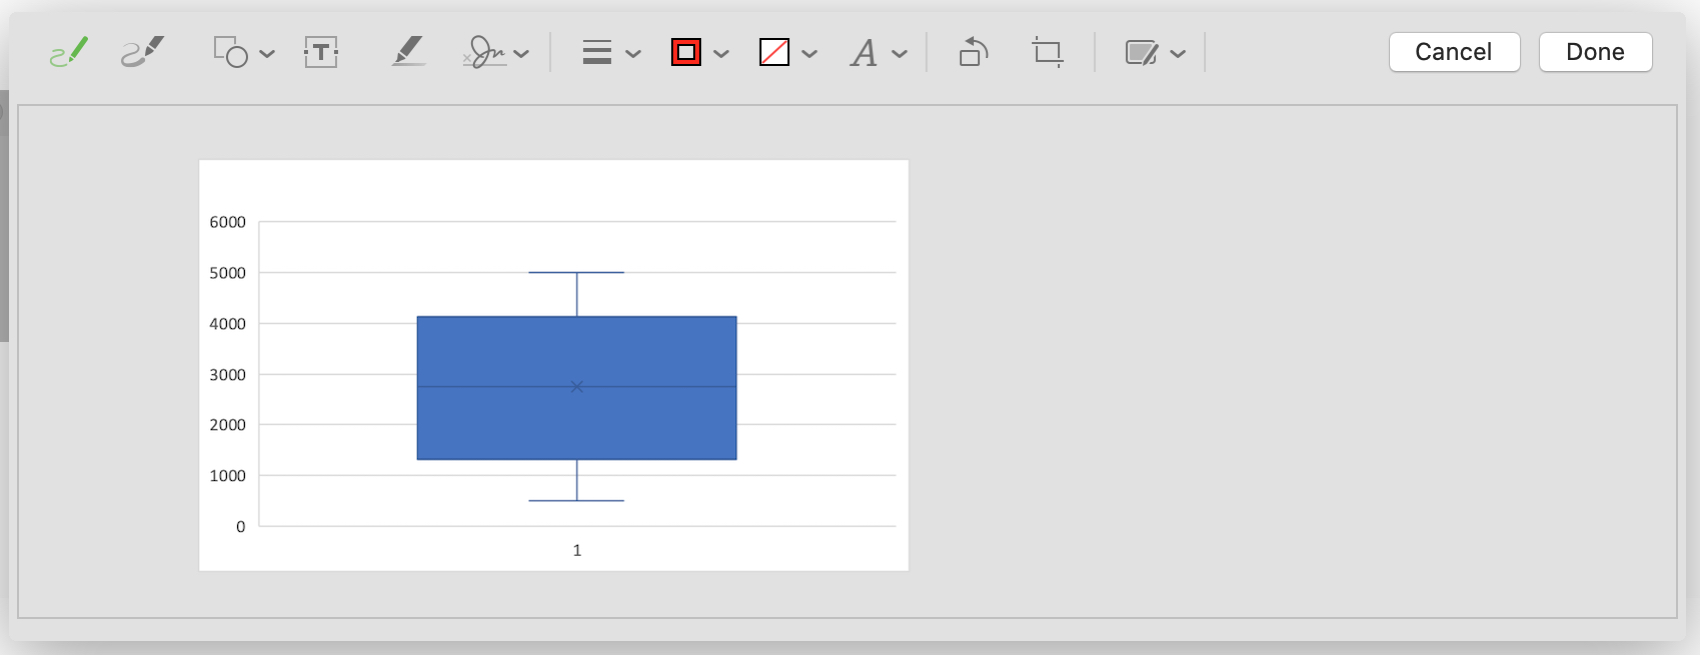
Your image will open in the Markup window, where you can edit and annotate it as you please.
If you’ve never used Markup on your Mac, it offers some great tools. Check out the toolbar, and you’ll see buttons to sketch, draw, highlight, sign, add shapes and text, include a border, rotate, or crop your image.

When you finish, click Done, and your edited image will display in your TextEdit document.
Being able to mark up images right from TextEdit makes it easy for quick edits like signing a document, cropping an image, or adding some text. And remember, you can use the Markup tool on Mac for email attachments. Plus, if you enable the extension you can use Markup for other Mac apps too.
Do more with TextEdit: